Top 9 Fixes For Windows 10 Error Code 0xc00000e
Do you have a Windows computer and use it regularly? If yes, it is possible that you would face errors. You can easily fix the errors you have already faced earlier. Fixing some errors could be tricky for you if you face one for the very first time. The error code 0xc00000e is a common error on Windows 10.
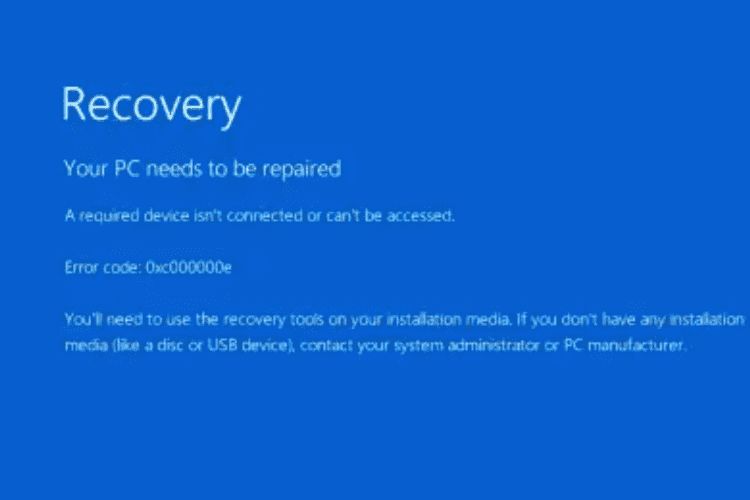
Windows 10 error code 0xc00000e means your PC needs repair and relates to distinguished types of Black or Blue Screen issues. As this error occurs, you see your computer screen turns blue/black with a message like this:
Recovery
Your PC needs to be repaired
A required device isn’t connected or can’t be accessed.
Error code: 0xc00000e.
You’ll need to use the recovery tools on your installation media. If you don’t have any installation media (like a disc or USB device), contact your system administrator or PC manufacturer.
This error message shows that your desktop or laptop has met a hardware failure or a drive configuration issue. The error message you receive might be different like the following ones:
- Required device is inaccessible.
- An expected error has occurred.
- A required device isn’t connected or cannot be accessed.
- The selected entry could not be loaded.
- And allied others with the error code 0xc00000e
You need to fix Windows 10 error code 0xc00000e as you see it with a blue or black screen on your computer. Here are some quick fixes for your assistance:
Examine Physical Device Connections
- Check whether any other devices are connected to your Windows 10 desktop or laptop. The devices could be pen drives, external USB storage devices, DVDs, and CDs.
Revamp the Boot Configuration Data File
Step 1: Think about rebuilding BCD on your PC.
Step 2: Generate a bootable USB medium from ISO as windows 10 is unbootable.
Step 3: Tap on Next as you come across the first screen after booting your PC.
Step 4: Click on the option – Repair Your Computer – instead of clicking on the Install Now option.
Step 5: Now, move to Troubleshoot, Advanced Options, and then, Command Prompt.
Step 6: Select the right account you generally use.
Step 7: Enter the password for that account.
Step 8: Type the command – bootrec /rebuildbcd – and hit the Enter key.

Step 9: Touch the Y key on your keyboard as you find a Windows installation. It will rebuild BCD.
Step 10: Type the command – bootrec /fixmbr and bootrec /fixboot and hit the Enter key after every command.

Step 11: Check whether error code 0xc00000e has gone as the reboot process of your computer ends.
Run the Windows Startup Repair App/Program
Step 1: Go to the Repair Your Computer option to get into WinRE.
Step 2: Now, move to Startup Repair followed by Troubleshoot and Advanced Options.
Step 3: Wait until the Start Repair process completes. It will diagnose and fix registry settings, system files, configuration settings, and allied other system files.
Ebale Windows 10 WHQL Support in BIOS
Step 1: Access BIOS to check if your Windows 10 WHQL Support is enabled.
Step 2: Enable it if it is not already enabled.
Step 3: Reset the BIOS/UEFI configuration on your PC if enabling the WHQL does not resolve the error.
Mark Your Disk as Online
Step 1: Boot your computer with a USB drive.
Step 2: Go to options – Next and Repair Your Computer.
Step 3: Enter EinRE.
Step 4: Move to the Command Prompt followed by Troubleshoot and Advanced Options.
Step 5: Enter the requisite password after choosing your user account.
Step 6: In the Command Prompt screen, enter diskpart and hit the Enter key to start the Diskpart Utility.
Step 7: Enter list volume or list disk and click on the Enter button to list all the partitions or disks on your Windows PC.
Step 8: Now, enter select volume or select disk and hit the Enter key to choose the required partition or disk that has the operating system.
Step 9: Type in online volume or online disk and tap the Enter button to mark the chosen partition or disk as Online.
Step 10: Hit the Enter key after typing in exit to leave diskpart.
Step 11: Hit the X mark on the top right corner to close the Command Prompt.
Reinstall Your Windows
Step 1: Use a bootable USB drive to boot your PC.
Step 2: Tap on Next as you see the first screen after booting.
Step 3: Click on the option – Install Now.
Step 4: Tap on I don’t have a product key as you have already activated your operating system.
Step 5: Click on Next after choosing your required operating system.
Step 6: Tick the box against I Accept the License Terms.
Step 7: Tap on Next.
Step 8: Choose the option – Custom: Install Windows Only (Advanced).
Step 9: Select a drive to install the Windows 10 operating system.
Step 10: Choose Drive 0 and click on Delete to delete the partition.
Step 11: Tap OK and select the empty partition. Now, click on the Next option.
Step 12: Wait until the Windows installation process ends.
Use the Automatic Repair Utility
Step 1: Boot your Windows PC from the install disc.
Step 2: Select the right time, keyboard input, and language. After that, tap on Next.
Step 3: Go to Repair Your Computer. Choose Troubleshoot and Advanced Options.
Step 4: Tap on the option – Automatic Repair. After that, select your operating system – Windows 10.
Run SFC and DISM Scans
Step 1: Type cmd in the search bar and click on the best-matched search result to open the Command Prompt.
Step 2: Type the command –sfc/scannow – and touch the Enter key.
Step 3: Wait for a while and let it scan files and correct the faulty ones.
Step 4: Now type the command – dism/online/cleanup-image/restorehealth – and hit the Enter button. It will fix broken files on your PC.

Rebuild BCR Registry
Step 1: Open the Command Prompt.
Step 2: Type the following commands and hit the Enter key after each command
bootrec/fixmbr
bootrec/fixboot
bootrec/scanos
bootrec/rebuildbcd


