How to Use AirDrop on Your iPhone or iPad

AirDrop is among the most convenient things Apple offers to its users across the world. It, as a unique feature of the iPhone/iPad, makes sharing files with close ones easier. You have been using this feature. Some of you might have issues while using this feature if you have just bought an iPhone or iPad or are a new iPhone/iPad user. This post is a good read for you.
What You Need to Do Before You Start Using AirDrop on your iPhone or iPad
Step 1: Ensure the person whom you are sharing files with is close to you and within a Wi-Fi and Bluetooth coverage range.
Step 2: Check whether you and the person have turned on Bluetooth and Wi-Fi. Turn off the Personal Hotspot if it is on your device or the person’s device.
Step 3: Confirm whether the person you are sending files to is in your contact list and has set the AirDrop to receive from Contacts only. Ensure that the person has access to your contact number, email ID, and Apple ID. It facilitates AirDrop to work well.
Step 4: Request the person to set the AirDrop Receiving setting to Everyone to receive a file if you are not in their contact list.
How to Use AirDrop on Your iPhone or iPad
Step 1: Open a file or app you want to send to a person nearby you. After that, click on the Share option. Swipe right or left and choose multiple images to share photos from the Photos app on your Apple device.
Step 2: Click on the AirDrop icon or button.
Step 3: Choose the AirDrop you are willing to share an app or image/music/video file with. You can come across several multiple devices nearby you under a red badge of the AirDrop button. Also, you can utilize the AirDrop feature between the Apple devices you own.
How to Accept an AirDrop on Your iPhone or iPad
Step 1: Click on Accept to receive a file through an AirDrop as you see a respective notification. You will receive this notification in a relative app. For instance, you will see photos in the Photos app if someone sends photos from their Photos app through the AirDrop. A website link will open in Safari.
Step 2: Tap on Decline if you do not want to receive an AirDrop.
How to Adjust Your AirDrop Settings
Step 1: To select the person who can see your Apple device and share files/data in AirDrop,
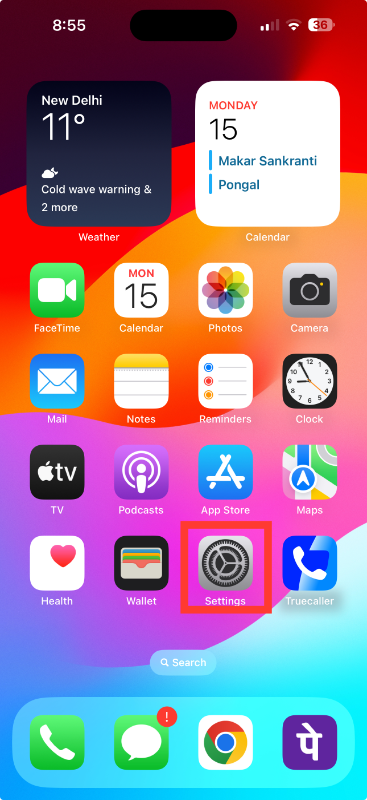
Step 2: Open the Settings application on your iPhone or iPad.
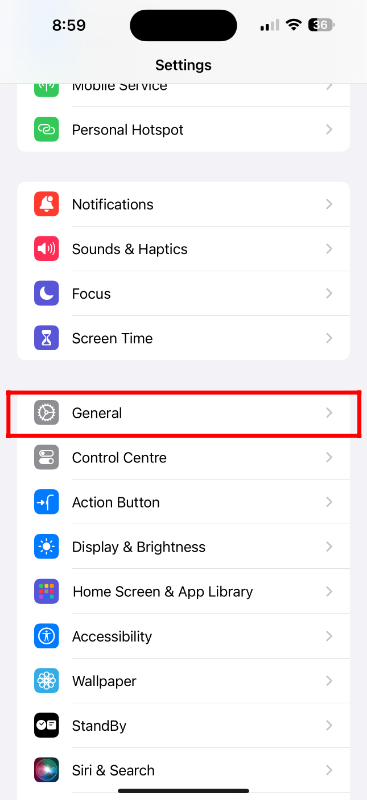
Step 3: Click on General.
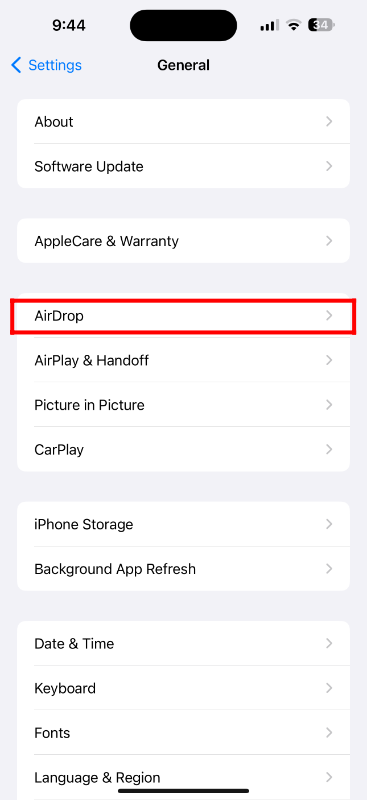
Step 4: Now, choose an option after tapping on AirDrop.
Use Control Center to set your AirDrop options
Step 1: Swipe up to the top right corner and open the Control Center on your iPhone X or later version or iPad with iOS 12 or later.
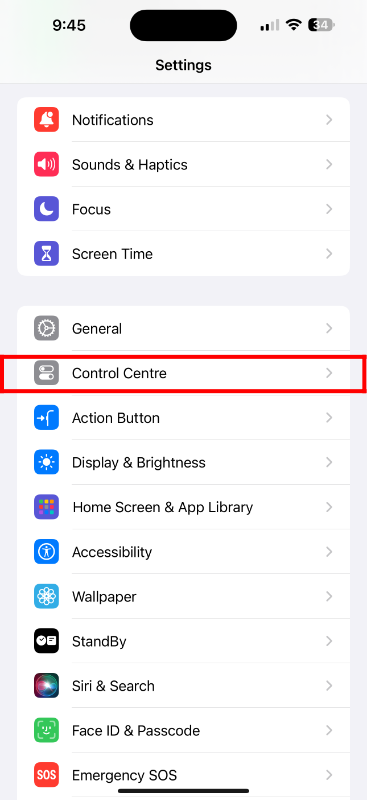
Step 2: Touch the network settings card on the top left corner and keep holding it for a few seconds.
Step 3: Go to the AirDrop button and keep holding it after touching it. After that, select one of these options – Receiving Off (for no AirDrop requests), Contact Only to make your device visible to the people in your contact list, or Everyone for all Apple devices.
To adjust the settings if you notice Receiving Off and can’t change it:
Step 1: Go to Screen Time after opening the Settings app on your iPhone or iPad.
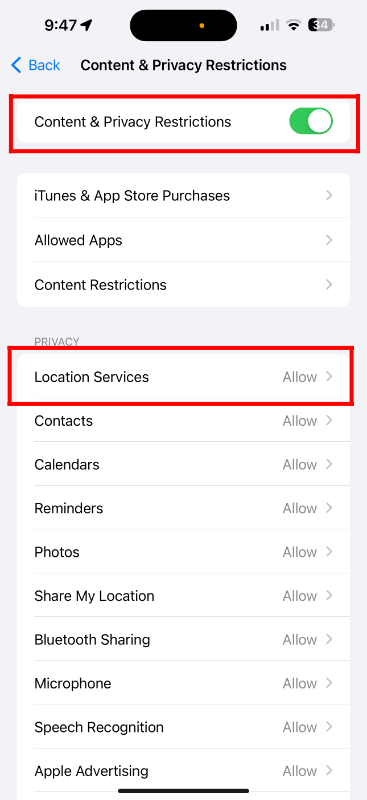
Step 2: Click on the option, Content & Privacy Restrictions.

Step 3: Ensure your AirDrop is on, and then, click on Allowed Apps. The setting will go back to Receiving Off after ten minutes if you are not signed in on your iPhone or iPad with Apple ID.
To block AirDrop on your iPhone or iPad, you need to
Step 1: Open the Settings application on your iPad or iPhone.
Step 2: Scroll down the displayed options and choose Screen Time, and then, Content & Privacy Restrictions.
Step 3: Toggle the switch to the right to turn it on and to the right to turn it off. Your AirDrop is blocked if the switch is grayed out.


